HOW TO JOIN GRANNY SQUARES: 4 EASY CROCHET METHODS (SETP-BY-STEP GUIDE)

You’ve finished your beautiful granny squares – now what?
The next step is learning how to join granny squares.
Whether you want a clean, invisible seam or a decorative, textured one, there are multiple ways to connect granny squares together.

In this guide, we’ll show you 4 simple and effective methods to join granny squares:
-
Needle Seam (for a flat, invisible look)
-
Slip Stitch Join (quick and simple)
-
Zig-Zag Stitch (decorative and sturdy)
-
Cable Stitch (textured and unique)
These techniques work perfectly for blankets, garments, bags, and any crochet project that uses granny squares.
- Tip: For a seamless look, use the same yarn color as your last round. For a fun, decorative effect, choose a contrasting color.
What You’ll Need
-
Sewing needle
-
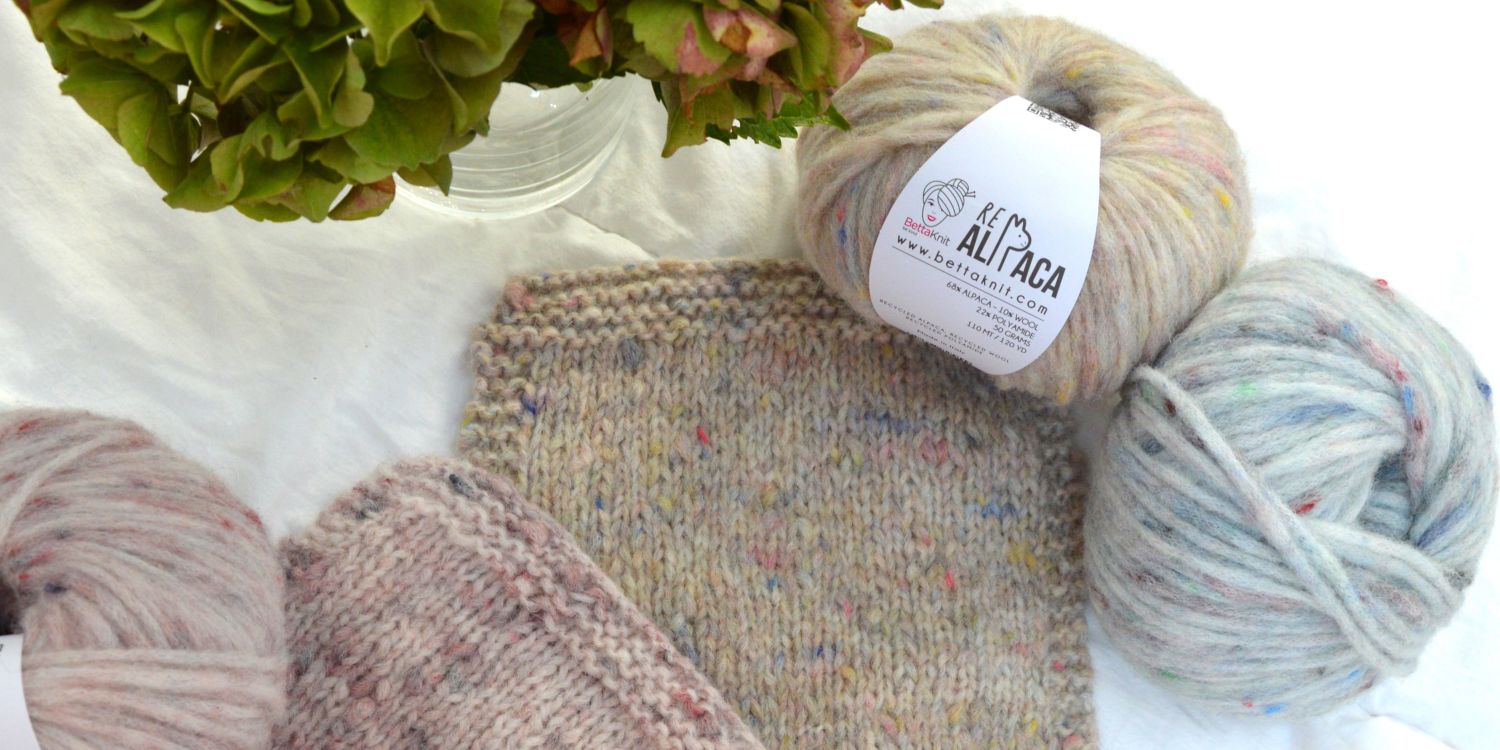
Biologica wool yarn (we used Coral for the seams)
Granny combinations used in this tutorial:
-
Granny #1: Violet - Pasta - Firenze
-
Granny #2: Barcellona - Ecru - Sky Blue
-
Granny #3: White - Minipony - Aquamarine
-
Granny #4: Serenity - Marsh Mallow - Blue
Many of this colors might be discontinued, but we are sure any color combination will be great!
1. Needle Seam (Invisible Join)
Perfect for when you want a flat, nearly invisible seam.
1. Align two squares at the corners and thread your needle with the chosen yarn.

2. Insert the needle only in the outer loops of each stitch on both edges, then pull on the needle to make the first stitch.

3. Pull gently and continue sewing until the squares are fully joined.

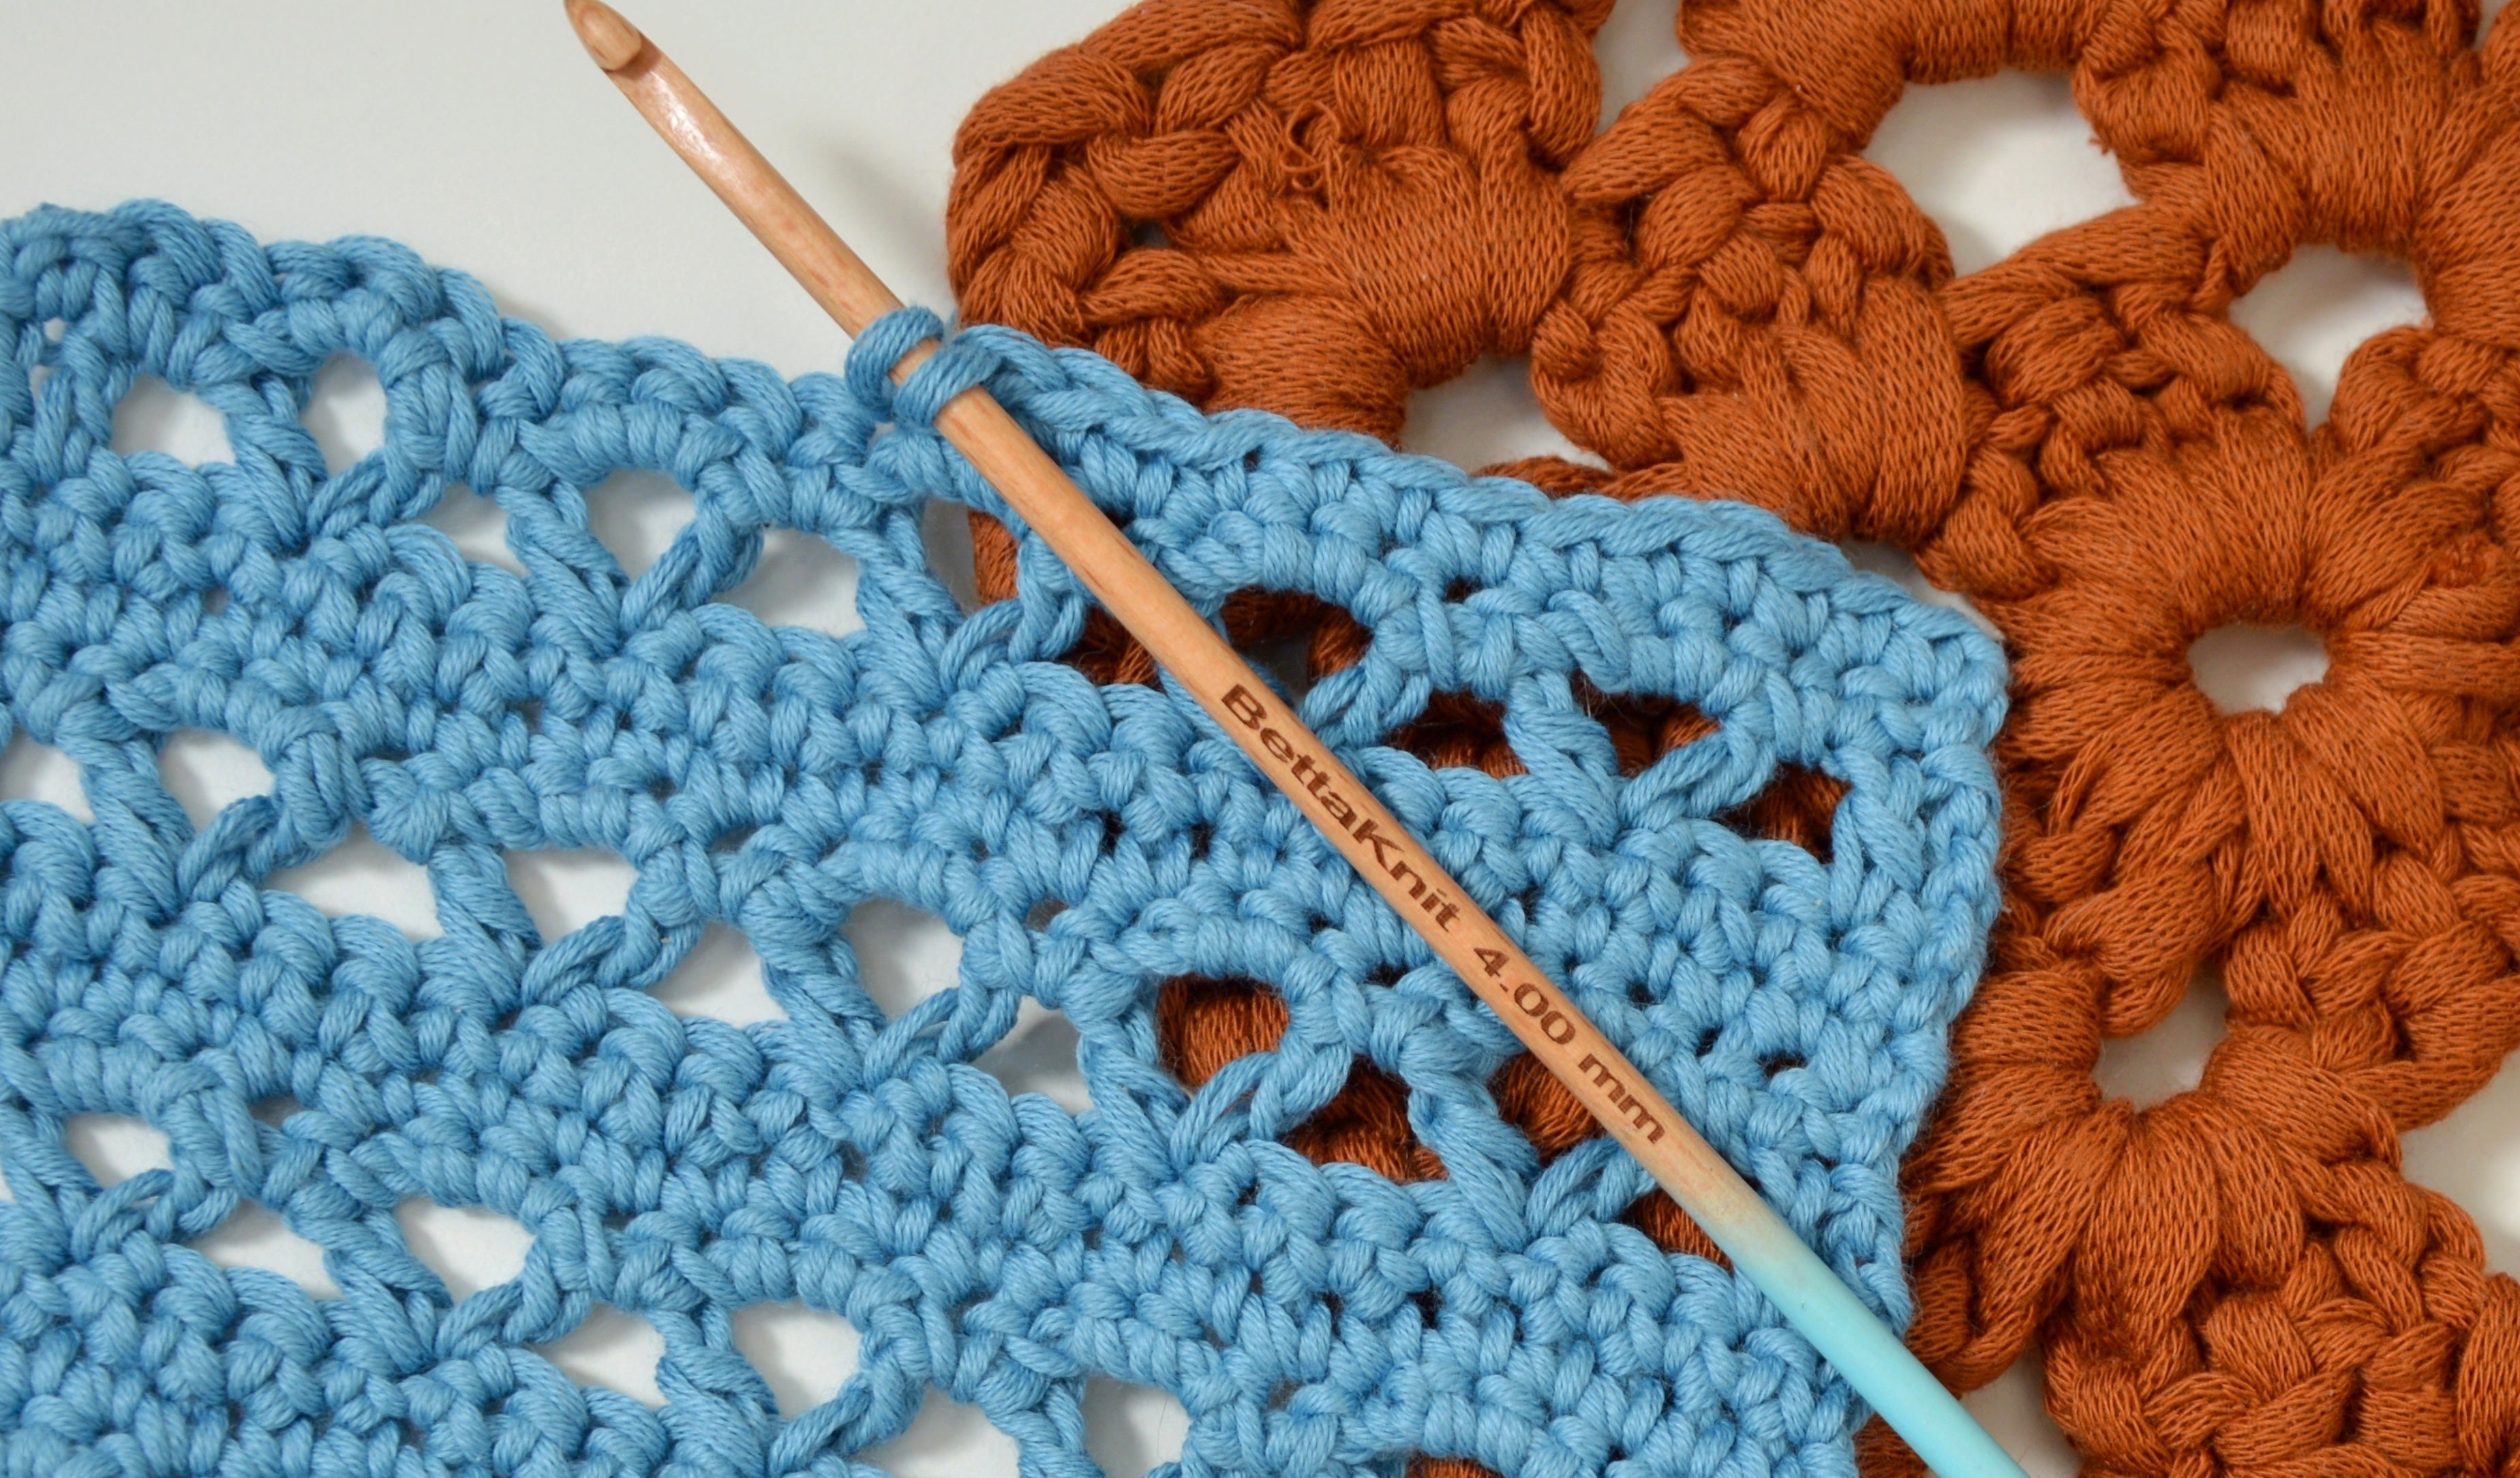
2. Slip Stitch Join
An easy and quick crochet method that adds a slight ridge for texture.
1. Join the 2 squares on the matching corners with a slip stitch

2. Insert your hook through the outer loops of the stitches on both squares.

3. Yarn over

4. Pull through both loops and the stitch on the hook.

5. Continue slip stitching along the entire edge.

Want to see it in action?
Watch our Step-by-Step Slip Stitch Join Video Tutorial and learn how to master this technique quickly!
3. Zig-Zag Stitch
A decorative, flexible seam that works well for colorful projects.
1. Start with a slip stitch at the corners.

2. Insert the hook through both loops of the first stitch on the left square, yarn over.

3. Pull the yarn through the stitch you entered and through the stitch on the hook.

4. Now insert the hook through both loops of the first stitch of the right side granny.

5. Yarn over again and pull the yarn through the stitch you entered and then through the stitch on the hook.

6. Repeat alternately until you reach the end.

4. Cable Stitch Join
A unique and textured seam that adds a braided effect.
1. Begin with a slip stitch at the corner.

2. Yarn over.

3. Remove the hook from the stitch without losing it, insert it into the outer loop of the right square, then catch the loop you just made and pull through.

4. Now take the hook out of the stitch you've created, careful not to drop it.

5. On the right side granny, insert the hook only through the outer loop of the first stitch, then catch the stitch you took the hook out of.

6. Do not yarn over and just pull the stitch through the loop you entered.

7. Repeat this alternating pattern across the seam.

Which Method Should You Choose?
-
For a flat look → Needle Seam
-
For speed → Slip Stitch
-
For a fun, decorative finish → Zig-Zag or Cable Stitch
Try them all and see which works best for your project!
FAQ – Joining Granny Squares
1. What is the best way to join granny squares for a blanket?
If you want a flat and seamless look, the Needle Seam method is ideal. For a decorative join, try the Zig-Zag or Cable Stitch.
2. Can I join granny squares with a different color yarn?
Yes! Using a contrasting color creates a decorative effect, while using the same color as the final round makes the seam almost invisible.
3. Do I need a special hook or needle for joining granny squares?
No special tools are required – just a regular crochet hook (same size or one size smaller than used for the squares) or a basic sewing needle.
Share Your Creations!
Which joining method do you love most?
Share your creations with us on Instagram using #bettaknit and let us know in the comments!